Overview
When facing problems with XCAPI and GFI FaxMaker, it is essential to make a test using the XCAPI Tool to verify that the device is configured correctly for the intended media gateway. This article provides information on creating an XCAPI trace file. It also draws your attention toward the sources that might help you read and interpret the logs you gathered.
Solution
- To access the XCAPI Configuration, go to Start > Programs > XCAPI > XCAPI Configuration.
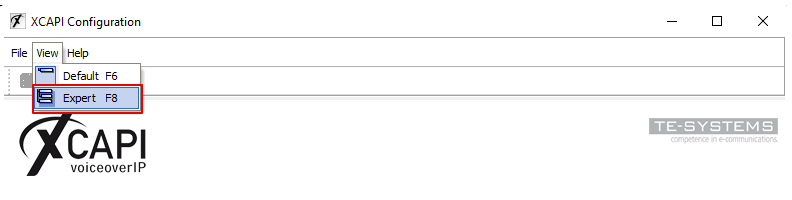
- To turn the expert view on, choose View, then select Expert. You can use the keyboard shortcut F8 as an alternative.
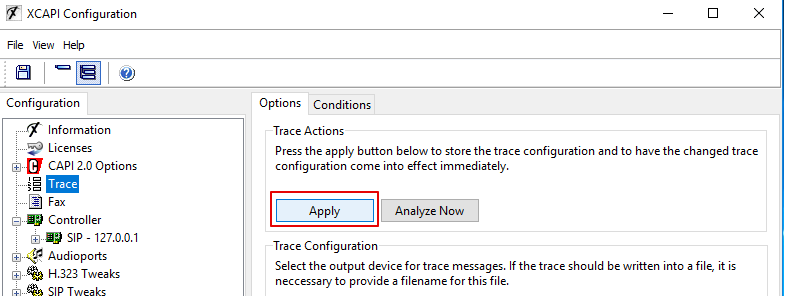
- Under the Configuration tab, click Trace.
- Go to the Options tab and configure the following:
- Trace type: Choose trace into the file.
- Trace file: Use the FaxMaker logs directory for the location of the trace file. C:\Program Files (x86)\GFI\FaxMaker\logs\xcapi.xct .
- Click Apply.
- Restart the FaxMaker Fax Server service.
- Right-click on the Start button and select Run.
- Type services.msc and select OK.
- Locate the GFI FaxMaker services.
- Right-click the FaxMaker Fax Server service, and click Restart.
- Reproduce the issue while the trace is running.
- The Trace file will be provided with the FaxMaker logging with the Troubleshooter if the path to the FaxMaker Logs directory was used in step 4. If not please provide the trace file separately.
- The time the test was performed.
- The number sending To.
- The IP address of the FaxMaker server.
Priyanka Bhotika
Comments